The Idea:
I had this idea for the next scene of my series of film stills, The image I had in my head was one of a bleak concrete walled interrogation room with a detective talking to my recurring character. For whom I realise now I don't have a name, we'll go with schmuck, but he is played by my good friend Doug primarily because there are few other people in the world I could dream of asking to go through what he goes through for me to get a picture! While this shoot is fairly tame he has been stamped on in the rain by a woman in heels, mock executed in a river and frozen while assisting me!
The Detective is played by a model I found that goes by the name of Glen Powers. With a name like that, he was made for the part.
After searching for a good long while for a suitable location that wasn't abandoned and ran the risk of us getting chased out I decided to build the set in a garage. I ordered a few MDF sheets from Wickes and got to work...
The Set:
I had opted to build the set rather than find a location as I would be able to have as much time as I liked and mount a mirror on the wall which would have caused issues shooting on location. Plus by building the set I'd be able to make it look just the way I had visualised it. I'm going to go through what I did to create the shot.
I started off by getting some large MDF boards and painting them grey, I was after a pretty rundown concrete/industrial so the grey was a good base coat. I screwed on some softwood batons to join the boards.
I then used small batons to attach to the joists so the wall I was making could lean up against it. The wall was secured with screws.
Once all 3 panels of the wall were up, I could start painting it all. This is where it all turned to guess work. I had intended to do all this without buying too much to keep spending minimal (another reason not to shoot on location, they all wanted to charge me) other than the wood I was just using up odd bits from the garage.
I initially sprayed as randomly as i could with black matte spray-paint to make the whole thing blotchy. It looked awful as you can see but it was going to be coated over. Then I watered down the dregs of 2 old paint cans that had been used in the house. A dark grey and one more of a stone colour. I applied the dark grey first, using a sponge to do an uneven and messy job! Followed by the stone colour in some parts.
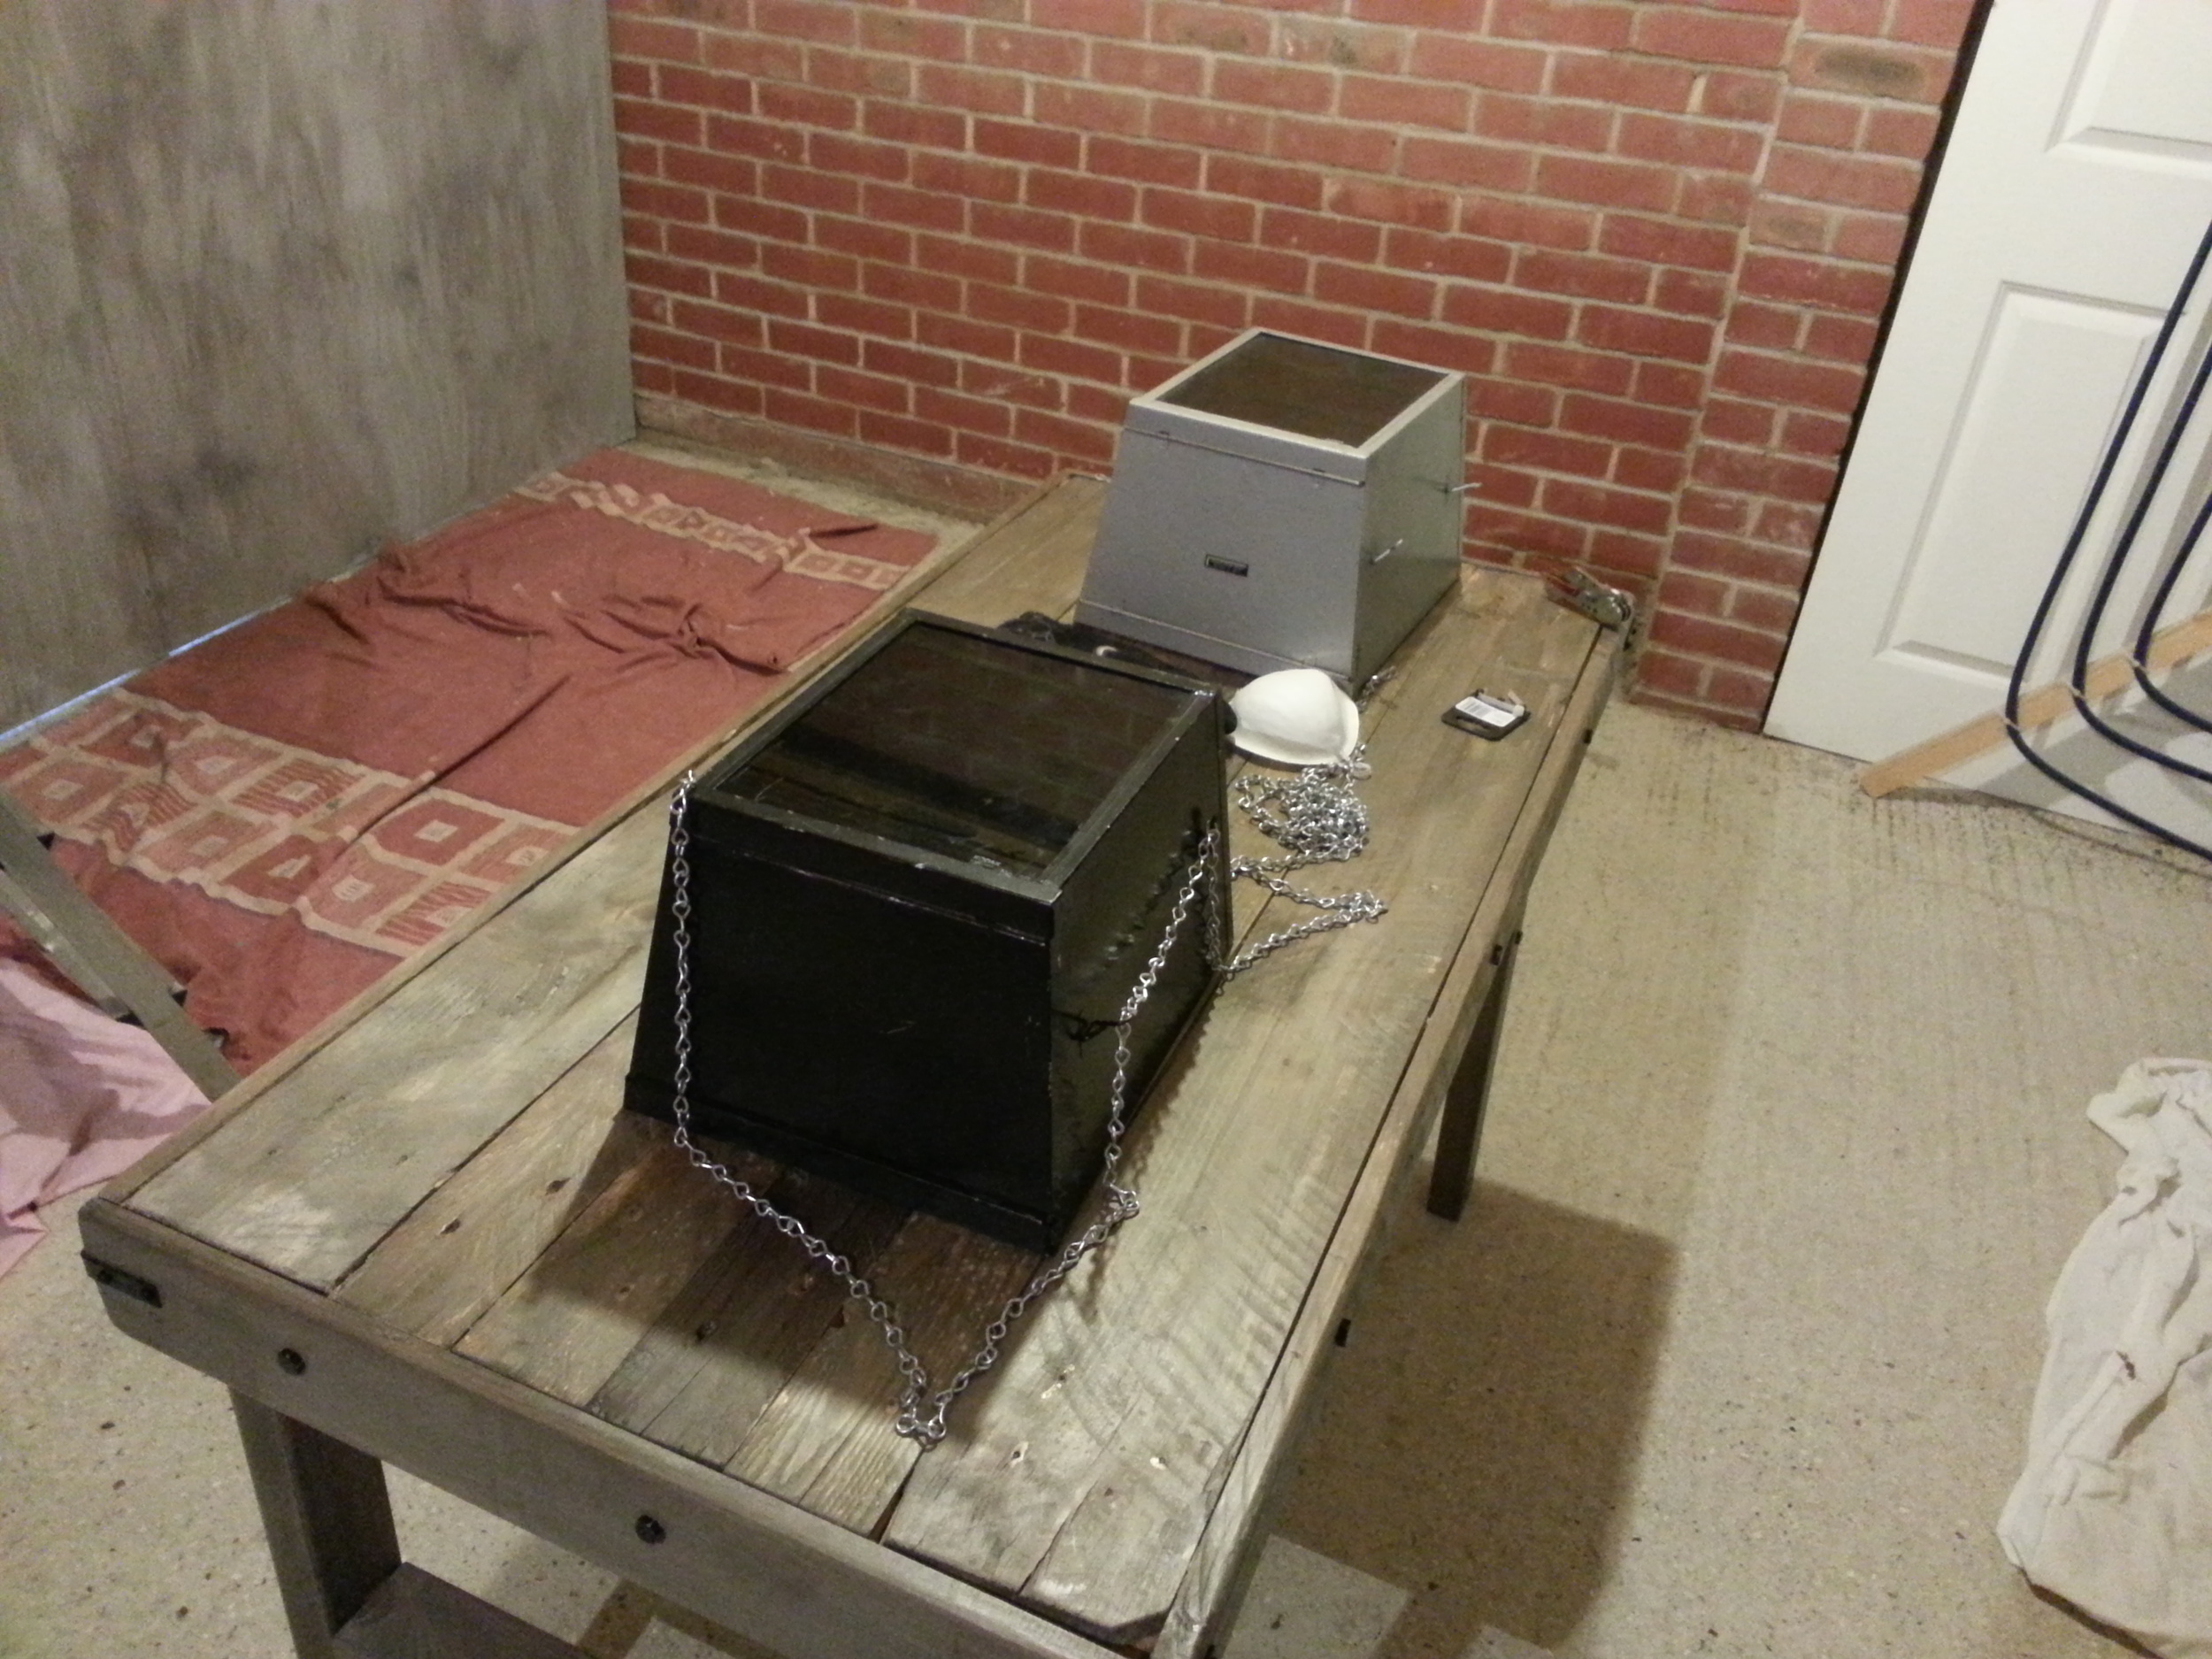
Next were the lights, I wanted there to be hanging industrial looking lights above the interrogation table. My old darkroom lights were perfect, I took out the wiring and took off the front brown glass panel, added some chains and hung them, I left the top piece of brown glass to add some warmth to the room. Then strapped a Nikon SB900 in each with half CTO gels on them using sellotape. I hung them from my backdrop stand that was set up over the table.
The Props:
I bought the handcuffs off Amazon although had to buy newer more heavy duty ones as I realised Halloween costume cuffs wouldn't cut it! As well as some brown folders that we filled with mostly blank paper and coffee stained. I used an Instax camera for the mugshot. And lastly, rolled cigarettes and matches.
I built the table using pallet wood. This I will admit was completely unnecessary, I just wanted to try making a reclaimed wood table and have made 4 or 5 since. If you like the look of it take a look at the others I've made, all are for sale to raise money for these shoots!
The mirror in the background of the images was mounted using wire and tilted down so not to show me in the reflection and only the table and the models.
The Shoot:
Lighting is pretty much as shown in the diagram above, Although I have large octaboxes rather than square softboxes. The main source of light needed to be the yellowish down-lights that are hanging above the table. As this would be the main light in a room like that. the other lights were added afterwards to fill in and add depth and drama. The snoot at the back was there to add a fringe light to the Detective. I played around with using the prison bar props (shown in one of the images) that i had made for a shoot a long time ago to cast a shadow on the backdrop of bars but it wasn't quite as effective.
Post production: I'm not going to do a full tutorial yet, I may go through my full process at some point in another blog post. But basically its frequency separation to remove any distractions and improve some skin tones and then Dodge and Burn across the image to selectively add contrast where i want it. with a little colour work at the end.
Bonus: I used to build a lot of props, so these bars were already lying around the garage from a previous shoot.
Equipment:
- Nikon D800
- Nikkor 50mm 1.4D
- Nikkor 85mm 1.8D
- 2 x Nikon SB900 speedlights
- Lastolight background stands
- Smoke machine
- 2/3 x Bowens 500w Gemini Strobes
- 2 x 120 octaboxes (only used one in the end)
- Radio triggers
- 5in1 Reflectors
- Lee coloured gel set.
- Wacom Intuos 5 (for post production)
- A BANANA!
With thanks to my models - Doug Flather playing the prisoner and Glen Power Playing the Detective


